
Shower Pan Preparation and Installation in San Diego County
The Drain: Proper Preparation for Hot Mop
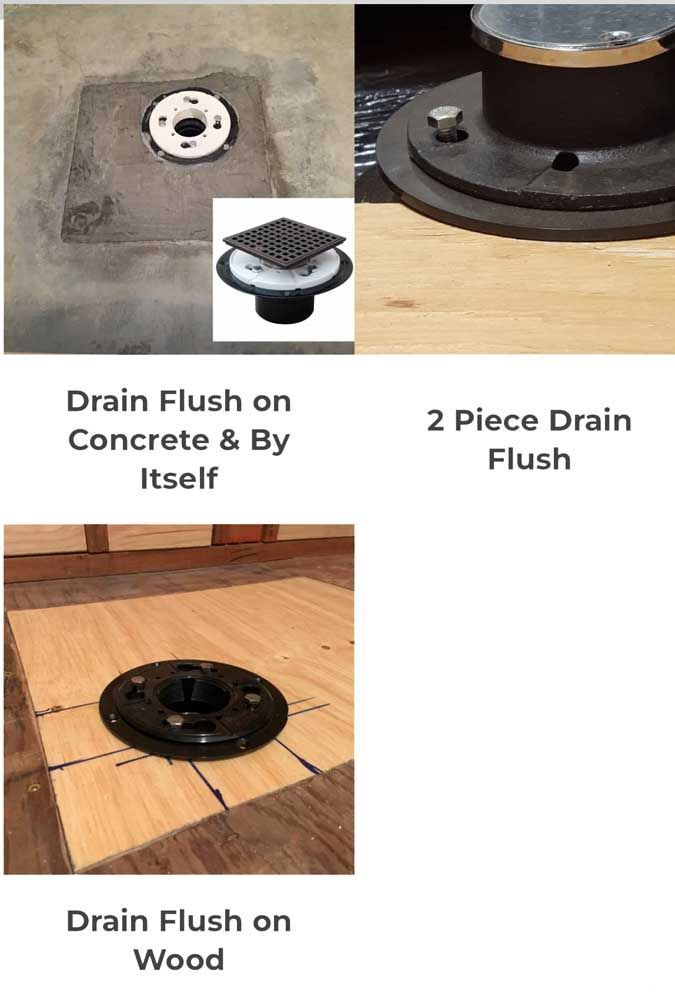
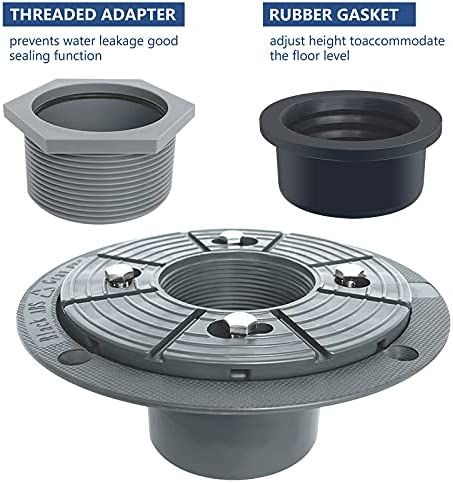
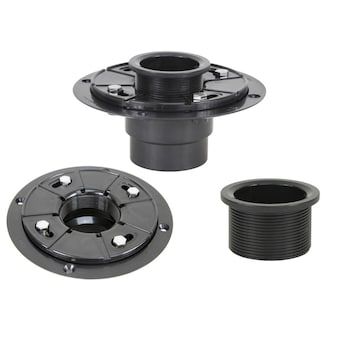
When it comes to preparing your shower for hot mop shower pan waterproofing, attention to detail is crucial. The drain plays a pivotal role in this process, and it must have two components to be compatible with hot mop:
- Bottom Flange: The bottom flange attaches to the drainpipe. It's essential that this bottom flange sits flat or flush with the shower sub-floor to ensure a proper seal.
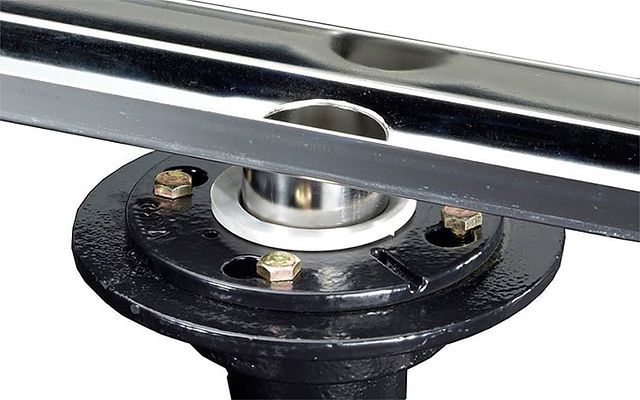
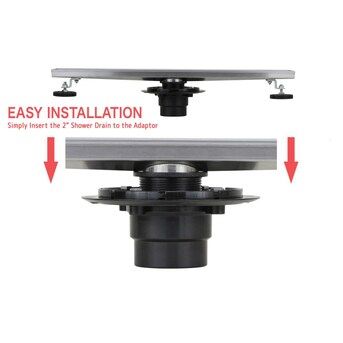
Linear Drain: Enhanced Waterproofing
Linear drains offer an innovative approach to shower waterproofing and have the same two components as a standard hot mop drain, along with a linear portion. When preparing for a linear drain, follow these steps:
- Store the linear portion in a safe place to prevent damage.
- Install the bottom flange and collar to the drainpipe.
- The linear portion will be installed during the tile installation process.

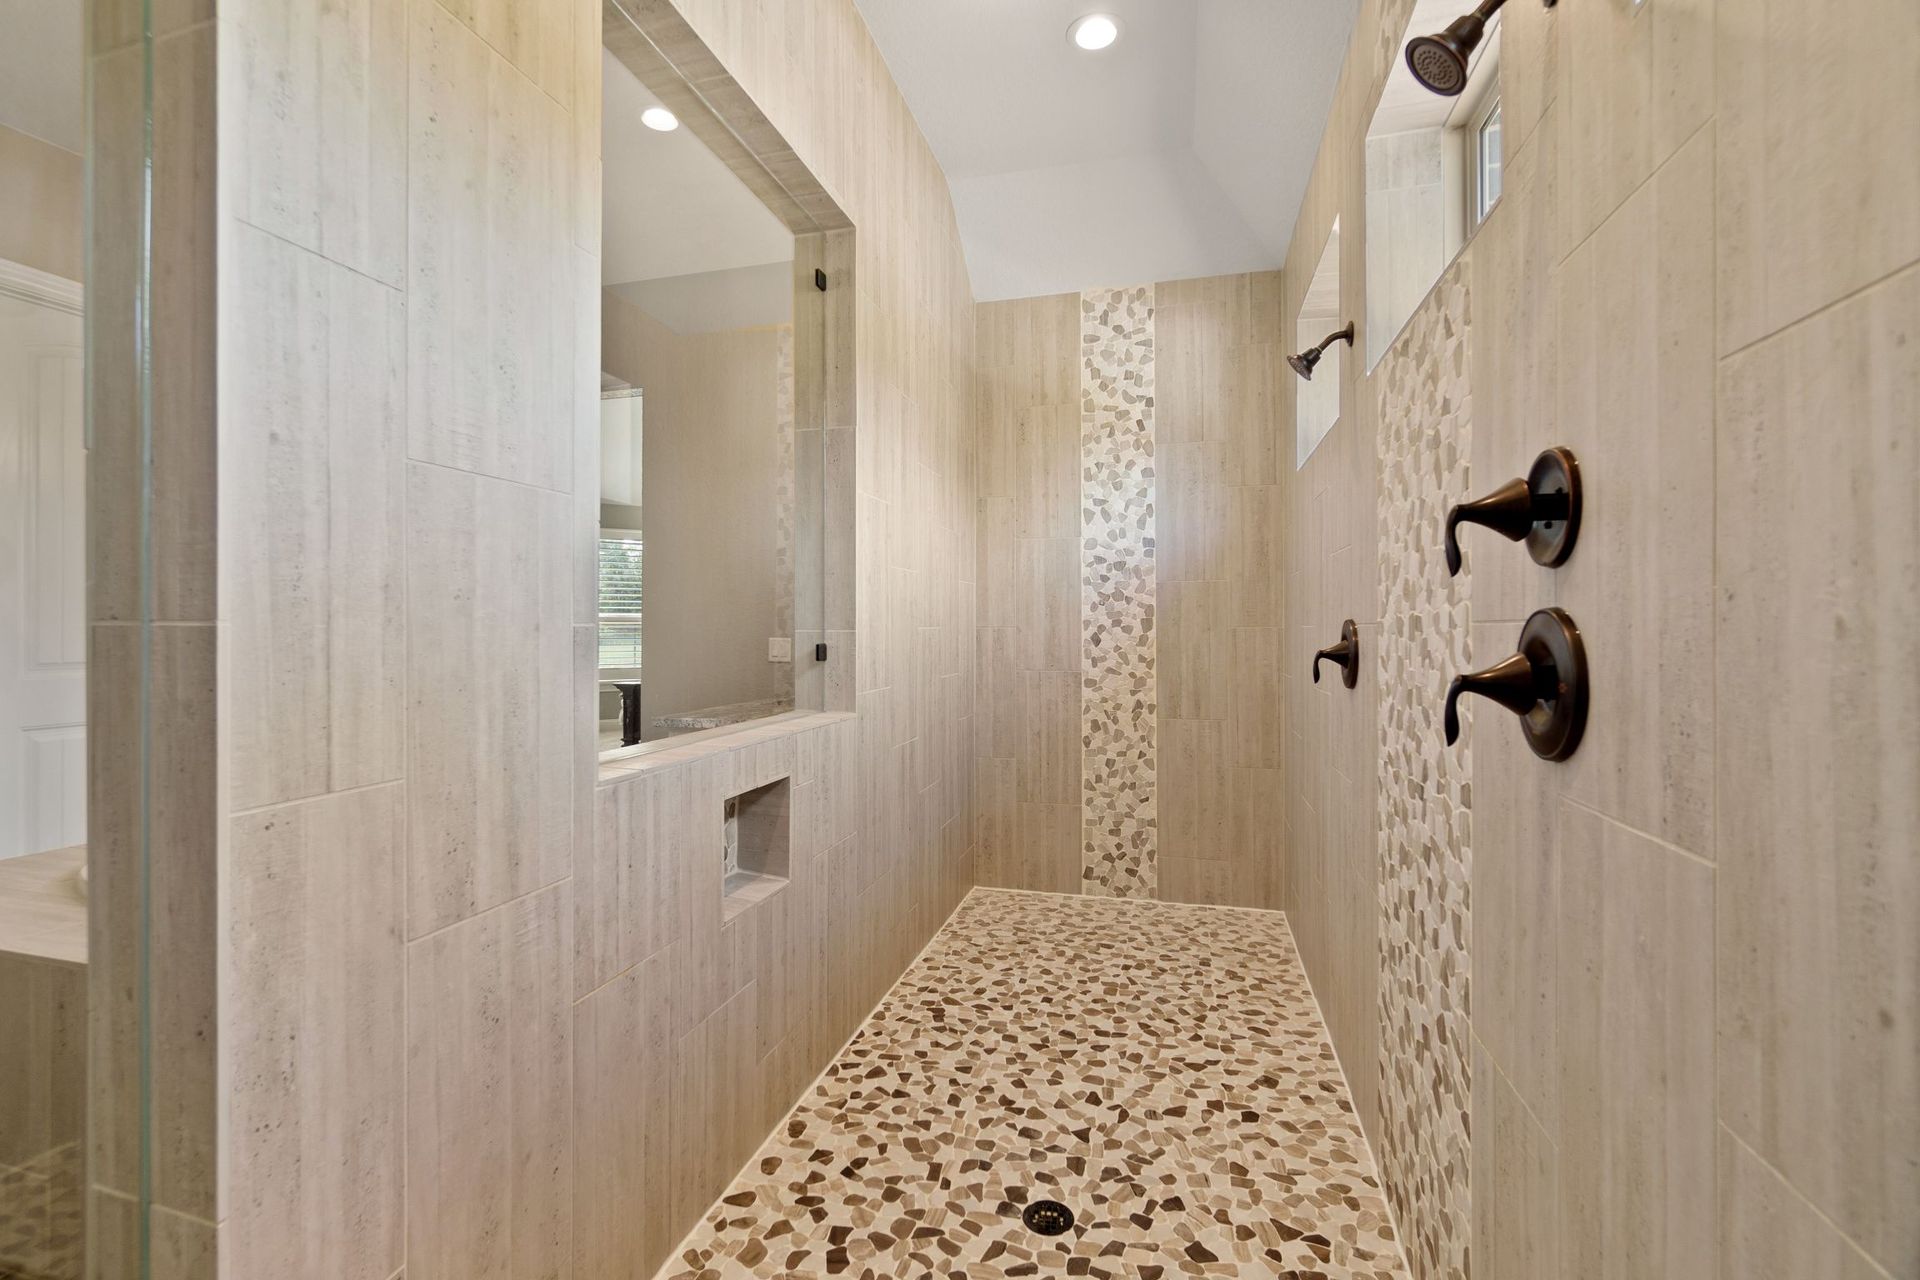
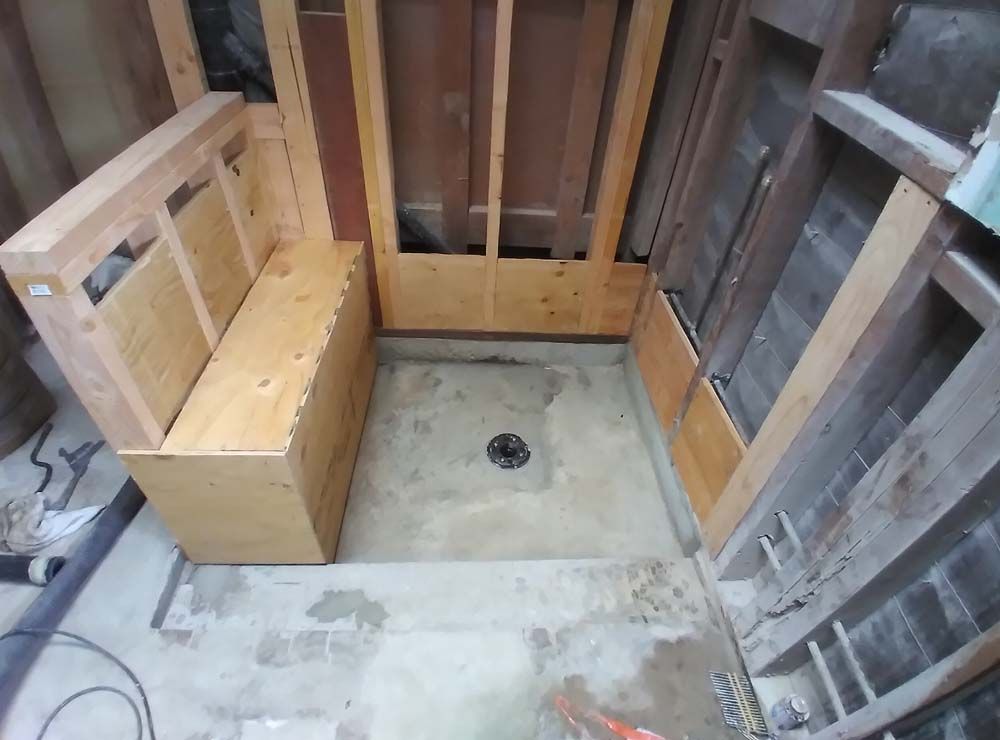
Curb/Dam: Proper Height and Construction
Curbs, often referred to as dams, are typically constructed using three 2x4 boards stacked "flat" on top of each other. The height of the dam should be determined by the height of the drain top, with a minimum requirement of being 2 inches higher than the drain's top.

Backing/Blocking: Ensuring Stability
Proper blocking is essential for the stability of your shower. Commonly, 2"x10" boards are cut to fit between the studs, or thick plywood is nailed to the outside of the studs. In areas where wood cannot fit, such as around plumbing pipes, a sturdy piece of sheet metal can be used.
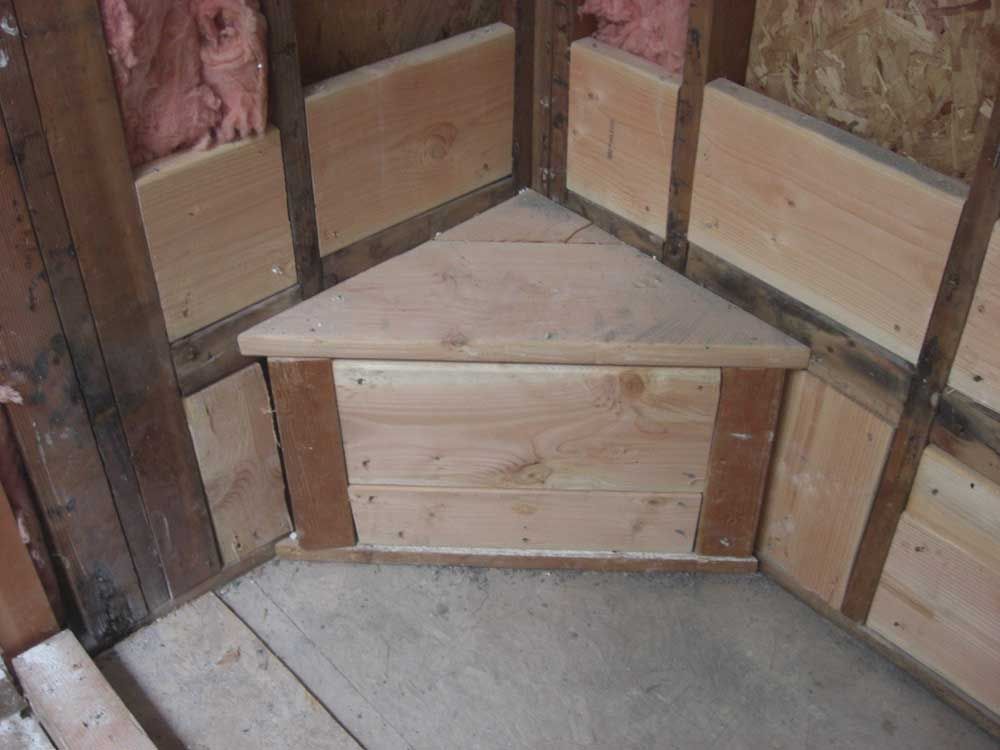
Seating Bench: Designed for Comfort
When creating a seating bench, it should be framed to the desired size and shape, with a solid plywood backing. It's important to note that we hot mop up the face of the bench and onto the flat sitting area. Therefore, ensure there is a minimum of 6" blocking above the bench between the studs.

Damless/Curbless: ADA Compliant
For handicap-accessible or ADA-compliant showers, specific considerations must be made. The entire shower subfloor must be recessed or sunken a minimum of about 3"-4" below the outside subfloor. The recessed wall should be flush with the framing above it, and any jagged edges from the recessing process must be smoothed out for the hot mop application.
Proper preparation is the foundation of a successful shower waterproofing project. Contact us to schedule walk-in shower waterproofing services and ensure your shower is protected against leaks and water damage.